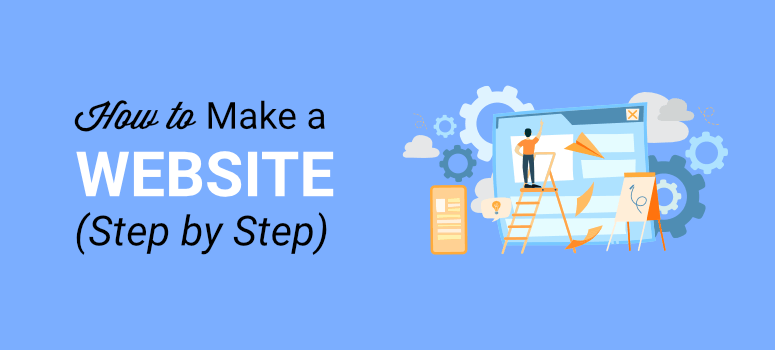
Step-by-Step Guide to Building a WordPress Website from Scratch
Creating a WordPress website might sound intimidating, but it’s actually quite straightforward. Whether you’re starting a blog, an online store, or a portfolio, WordPress is a great choice due to its flexibility and user-friendliness. Here’s a step-by-step guide to help you build your WordPress website from scratch.
Step 1: Get a Domain Name and Hosting
Domain Name: Your website’s address (e.g., www.itcrew.in). Choose something that reflects your site’s purpose and is easy to remember.
Web Hosting: This is where your website lives on the internet. Think of it as the storage space for your site’s files. Many hosting providers offer one-click WordPress installations, which makes the setup process easier.
Steps:
- Choose a Domain Name: Use a domain name registrar like GoDaddy or Namecheap to find and register your domain.
- Pick a Hosting Plan: Look for hosting services that offer WordPress support. Popular choices include Bluehost, SiteGround, and HostGator. Sign up for a plan that suits your needs and budget.
- Connect Your Domain to Hosting: Usually, this is handled automatically when you buy both from the same provider.
Step 2: Install WordPress
Most hosting providers offer a one-click WordPress installation. Here’s how to do it:
Steps:
- Log in to Your Hosting Account: Find the control panel (often called cPanel).
- Locate the WordPress Installer: Look for an option like “One-Click Install” or “WordPress Installer.”
- Run the Installer: Follow the prompts to install WordPress. You’ll need to enter details like your site’s name and a username and password for your admin account.
Step 3: Log In to Your WordPress Dashboard
After installation, you can access your WordPress dashboard by visiting www.itcrew.in/wp-admin.
Steps:
- Go to the Login Page: Enter the username and password you set up during installation.
- Explore the Dashboard: Familiarize yourself with the main areas: Posts, Pages, Media, Appearance, Plugins, and Settings.
Step 4: Choose and Install a Theme
A theme controls how your site looks. WordPress offers many free themes, and you can also purchase premium ones.
Steps:
- Go to Appearance > Themes: Click “Add New” to browse available themes.
- Preview and Install: Find a theme you like, click “Preview” to see how it looks, and then click “Install.”
- Activate the Theme: After installation, click “Activate” to apply the theme to your site.
Step 5: Customize Your Site
Now it’s time to make your site your own!
Steps:
- Go to Appearance > Customize: Here, you can adjust site settings like your site’s title, tagline, and colors.
- Add Widgets: Widgets are small blocks that add functionality to your site’s sidebar or footer. Go to Appearance > Widgets to add and arrange them.
- Configure Menus: Go to Appearance > Menus to create and organize your site’s navigation menus.
Step 6: Add Essential Plugins
Plugins add functionality to your site. Here are a few essentials:
- Yoast SEO: Helps with search engine optimization.
- Wordfence Security: Enhances your site’s security.
- WooCommerce: Ideal for creating an online store.
Steps:
- Go to Plugins > Add New: Search for the plugin you want.
- Install and Activate: Click “Install Now” and then “Activate” once installed.
Step 7: Create Pages
Now, let’s build the core pages for your website.
Steps:
- Go to Pages > Add New: Create essential pages like Home, About, Contact, and Blog.
- Add Content: Use the editor to add text, images, and other media.
- Publish Pages: Click “Publish” when you’re ready to make the page live
Step 8:Set Up Your Blog (Optional)
If you plan to have a blog, you must create a page.
Steps:
- Create a New Page: Go to Pages > Add New, and title it “Blog” or “News.”
- Set as Blog Page: Go to Settings > Reading, and set the “Posts page” to your new blog page.
It is the same as we set a page as home
- Set as home Page: Go to Settings > Reading, and set the “Posts page” to your new blog page.
Step 9:Set Up Your Blog (Optional)
Now, let’s build the core pages for your website.
Steps:
- Go to Pages > Add New: Create essential pages like Home, About, Contact, and Blog.
- Add Content: Use the editor to add text, images, and other media.
- Publish Pages: Click “Publish” when you’re ready to make the page live

